I was asked to participate in our stake Emergency Preparedness Fair this year, to be held on Sept 15, 2012. Dee is teaching a couple of classes on gardening, and I am displaying alternative cooking methods, i.e. Wood Fired Pizza Oven, for the afternoon. I have cooked many things, including our Thanksgiving turkey, in the oven, but I had never tried to see just how much I could do in one heating. So, we lit the fire on Monday, August 13 at about noon. It takes four to five hours for it to heat, adding wood periodically. We rolled dough out at about 5: 30 pm and started Project Pizza Oven.
 |
| This is our pizza oven. It began as a whim in Suzzy's mind: how about building a pizza oven to feed the North Pointe Prep Falcon Football team for summer practice....in two weeks! You can guess that this beauty wasn't complete in two weeks. Lots of concrete...lots of work...lots of brick and block and insulation and pipe...lots of help from our boys...but it finally was completed in time for our 30th anniversary (if you see the lettering on top, Dee engraved "20 D -heart- S 10". It was completed in 2010...but the way he put the year, it also added up to 30...that's right) |
 |
| The oven, all loaded with needles Suzzy rakes from under our pine trees and found wood...fallen trees, tossed branches, etc. The fire is lit and monitored for the 4 hour heating time...checking it about every 30 minutes, and adding wood as needed. You don't want just fire. You need the bricks to heat. |
 |
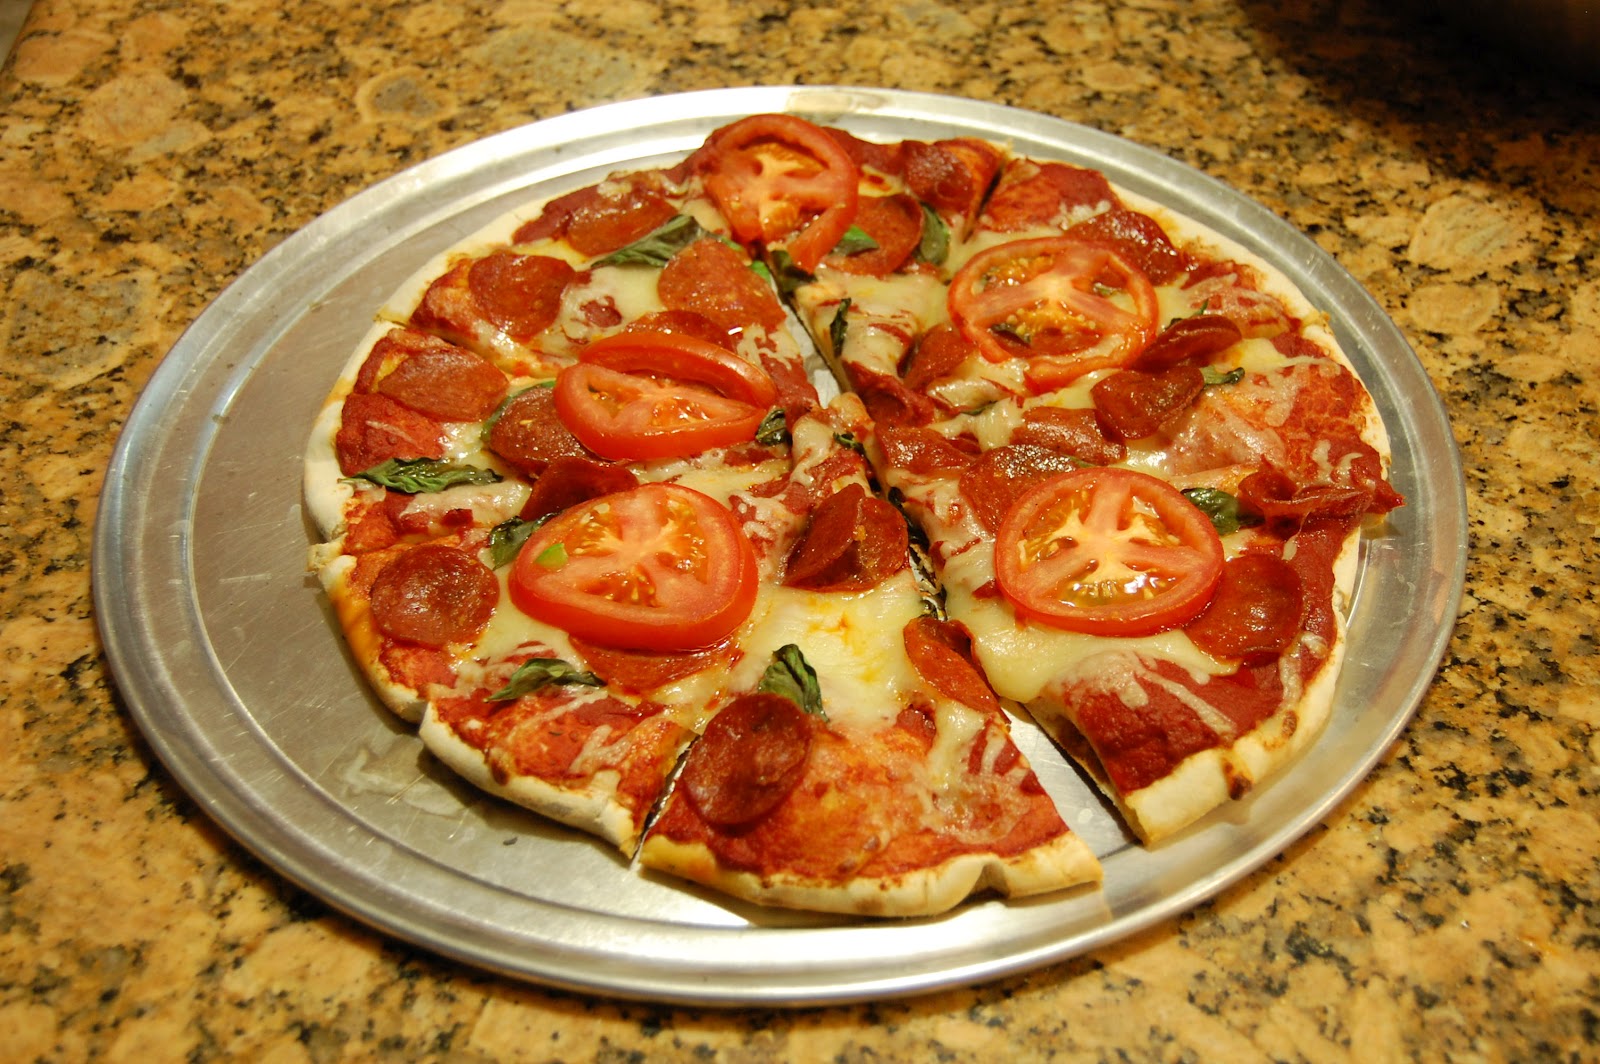
| I have posted pictures of the pizzas being prepped and baked. This was one of the first ones out. |
 |
| While the pizza was baking, I did prep for the next round. I took three whole chickens, washed and patted them dry, and rubbed the interior and exterior with assorted rubs, and put them on racks, then on cookie sheets. I also chopped two pans of tomatoes, added some fresh basil, and tossed in olive oil and salt. |
 |
| After the pizza portion of the day was complete, we put the chickens and the tomatoes in, and placed the door on. |
 |
| About an hour and a half later, we had these: perfectly roasted chickens. The tomatoes remained in the oven to roast. |
 |
| I deboned the chickens and filled 6 bags with the chicken meat, approx. half of a chicken in each bag. |
 |
| I am a crazy freezer wrapper. First, I use a freezer zip top bag, and then I wrap that in freezer paper , label and date. I had five packages for future meals and kept out one for tomorrow. |
 |
| We pulled these out late that night, and left them to cool all night. |
 |
| Now for Early Tuesday morning. I first ground some wheat and then put it right into my Bosch and mixed up dough enough for two loaves of bread. I set that out to rise, and ran those cooled tomatoes through my strainer (I have a Kitchenaid with a strainer attachment). The bowl on the left is the peels, etc. for our chickens and the right is the sauce. |
 |
| I package the sauce in labeled zipper freezer bags, labeling and dating. I don't need to double wrap these because they go very fast! |
 |
| I had thawed two deer loins, and put them in a bag with some soy sauce and brown sugar to marinate. |
 |
| Here are the loaves of bread after their second rise, ready for the oven. I typically bake these in my conventional oven at 375 degrees F. for 18 minutes. We took a temp reading (one of those point and shoot readers from Harbor Freight) and saw the oven was around 328, so I decided 30 minutes would be a good start to bake them. |
 |
| While the bread was baking, I completed prepping the deer loin, adding bacon wrap. |
 |
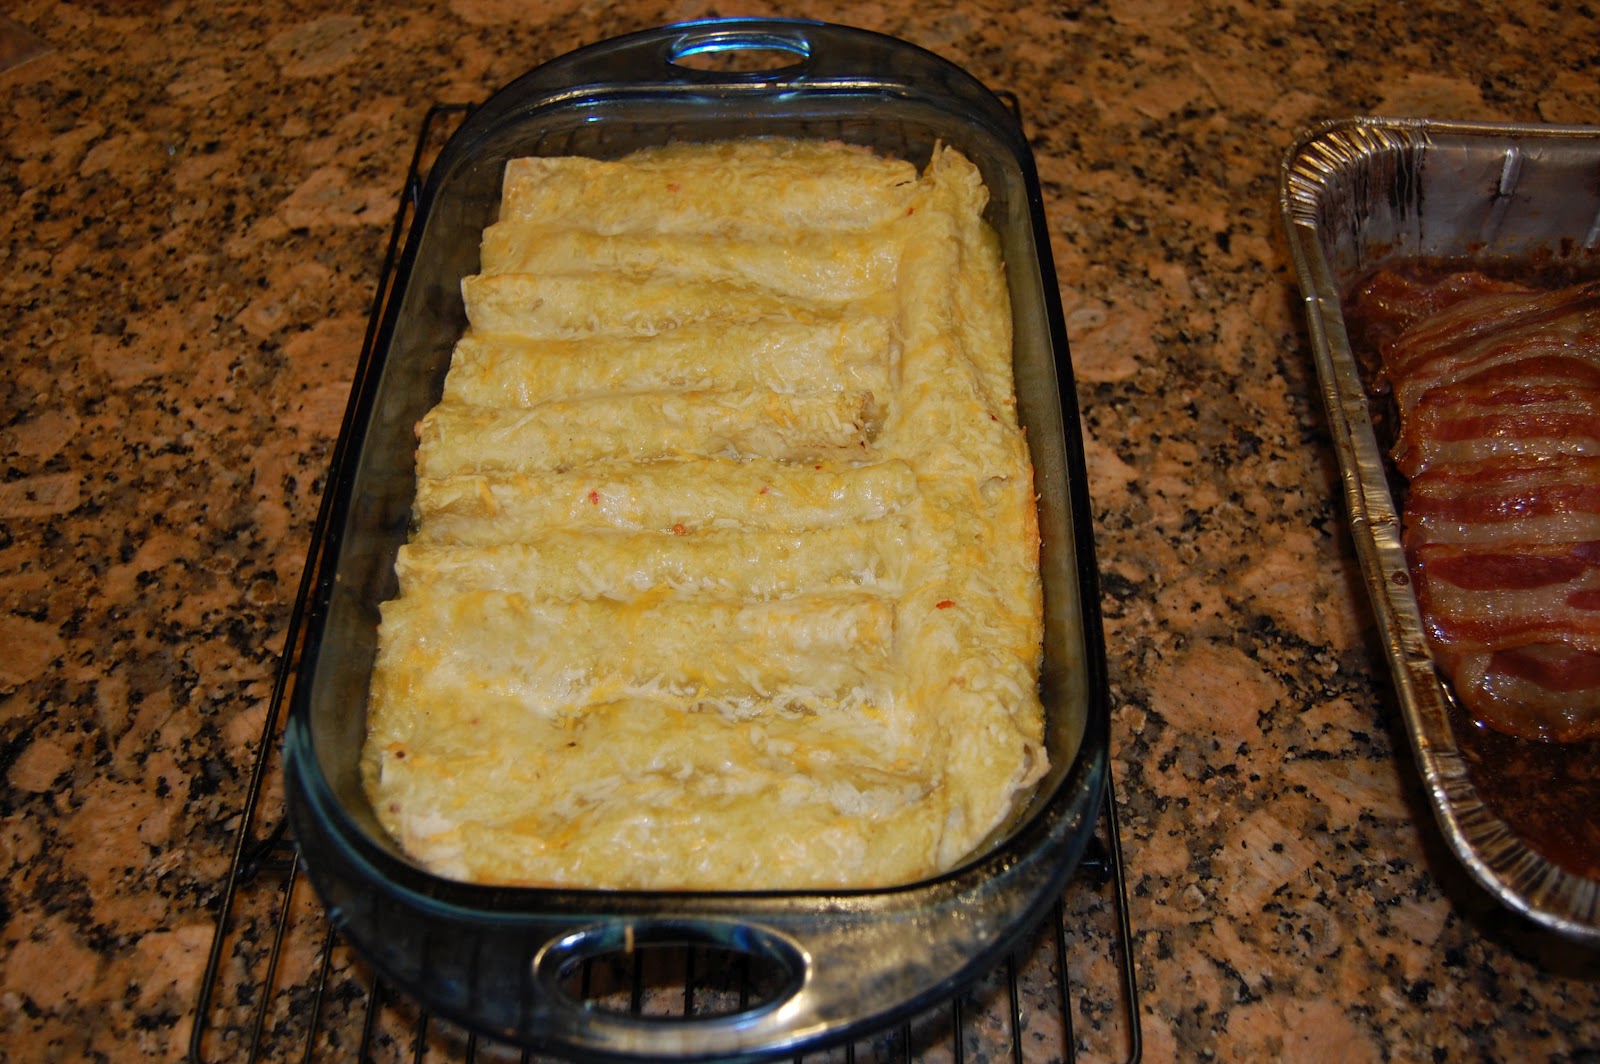
| I also made this pan of green chili chicken enchiladas, using one package of chicken from last night. |
 |
| Here is the bread when we took the door off. |
 |
| We removed the bread, took another temperature reading (It had only dropped a few degrees) and settled on returning in an hour. |
 |
| Here are the loaves of bread. |
 |
| The oven was still hot, so I got some pumpkin from the freezer that we had pureed from fresh pumpkins last year and took four eggs from our sweet chickens... |
 |
| And whipped up a batch of Pumpkin Chocolate Chip Cake |
 |
| When the meat was done...via temperature gauge...we took it out, and put the cake in. leaving it for an hour. |
 |
| Enchiladas are perfect. |
 |
| I checked the cake, which needed more than the hour to bake, and when I returned, my sweet hubby had sliced one of the venison loins...minus a slice or two! |
 |
| Here is the cake right out of the pan... |
 |
And finished.
|
Now, the oven was still warm...not enough to bake bread or anything, but it could keep dishes warm, dry herbs, etc.
There...all in a day. I wanted to make a whole Thanksgiving meal in the oven before I present, but I doubt that the 105 degree weather here would make eating stuffing, mashed potatoes and gravy too appetizing. Amazing what some brick and block and concrete and pine needles and wood can do!


No comments:
Post a Comment